


What you need to prepare before installing an Over the Range Microwave?

Installing a microwave oven is a multi-step process. It can take several hours of time, so be prepared well is nescecey.
One of the first considerations is the location of the microwave oven. The wall on which it is to be installed should be easily accessible, which may require the oven to be moved out of the way to make available the space directly below where the work is to be done.
Installing a microwave may require several people or even a ladder, so be sure to prepare enough space to work safely.
Next, you will need to gain access to your new microwave. Remove the unit from the box and read the included instruction manual to make sure you have all the necessary parts. After installing the microwave, make sure the power cord is long enough to reach an electrical outlet.
If there is no electrical outlet within reach of the power cord, install an electrical outlet near the microwave. This is usually located in a cabinet above the microwave, but may also be along the wall below it, a safe distance from the heat of the cooktop.
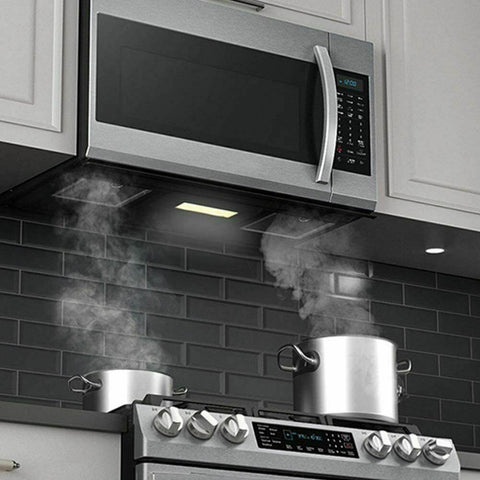
After removing the microwave from the box, pay attention to the vent setting on the back of the unit. Refer to the owner's manual for your specific model for instructions on how to properly install the microwave vent above the oven. Make sure all parts needed to connect the vent are in place before starting.
The microwave oven must be vented, so plan whether the microwave oven will need to be connected to an existing vent or have a vent on the front of the unit. You can install a new vent or call a contractor for more complicated locations, such as adding a vent or relocating electrical wiring.
Tools and materials to have on hand
Before starting any part of the installation process, make sure these items are ready to use.
Tools
- Drill and bits
- Dowel detector
- Level
- Measuring tape
- Metal shears
- Gloves
- Sturdy stool or ladder
Materials
- New microwave range
- Fasteners or drywall screws
- Painter's tape
- Wooden blocks or planks
- Drop cloth
Measurement
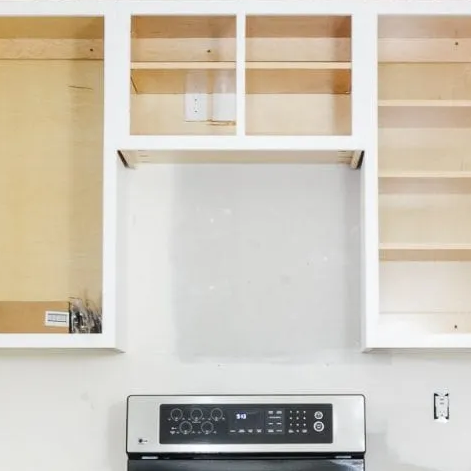
Measure the width, height and depth of your existing cabinet space before you begin.
Before you begin installing the microwave oven, take a few measurements to ensure it fits properly. This includes measuring the width, height and depth of the existing cabinet space where the microwave will be installed. Verify that the new microwave can be installed under each edge of the cabinet and that the door will have room to open freely. The dimensions of the microwave oven should match the minimum overhang to ensure safe installation.
Measure the distance between the kitchen countertop and the lowest edge of the microwave. Manufacturer's instructions should specify the minimum height required for different types of ovens. This is often a minimum distance of 18 inches between the cooktop and the bottom edge of the upper cabinet or microwave.
Local regulations and manufacturer's instructions may vary, so be sure to measure and plan your installation carefully. The National Kitchen and Bath Association recommends that the bottom edge of the microwave be installed no higher than 54 inches (4.5 feet) from the floor to ensure safe use of the microwave. A typical cooktop height is 36 inches from the floor, or about 4.5 feet.
Screws and adjustments
Always make sure that the microwave is mounted on a secure section of wall.
When preparing to install the microwave on the stove, it is a good idea to mark the studs behind the wall where the microwave will be mounted. Use a stud finder and mark the wall above the studs to the height of the microwave. The microwave mounting bracket must be installed on at least two wall studs.
If studs are not readily available, consider framing behind the wall. If framing is not available, studs or drywall anchors can also be used.
Changing the framing requires removing the drywall and exposing much of the interior wall to install 2x4 panels, which can be installed horizontally between the existing wall studs. This means removing insulation, so spread a rag under the work area, wear gloves and handle the removed sections of wallboard carefully. Attach the 2x4 board between the wall stud framing where the microwave mounting bracket will be installed. Reattach the insulation and then the wall plate.
Changing the framing requires additional time to repair the wall and paint it. This can be a more advanced project than a simple DIY, so for complicated installations, don't hesitate to hire a professional.
Built-in cabinets
Another type of microwave installation that is difficult to plan is recessed cabinet edges, where the microwave will be installed over the range. These can complicate any microwave installation project because they do not allow you to securely attach the microwave to the cabinet without a little help holding the screws in place.
As for how to install a microwave in a built-in cabinet, you will need a wooden board or several wooden blocks that form the same depth as the front decorative edge of the cabinet so that the microwave door opens below the front of the cabinet. These blocks can be glued along the base of the cabinet, behind the edge of the recess. They should be screwed to the cabinet at a later stage of the microwave installation, after the microwave has been screwed to the inside surface of the cabinet.